Surface preparation techniques
Key Takeaways
- Proper surface preparation is essential for a successful paint job.
- Techniques vary depending on the type of surface and desired finish.
- Common methods include sanding, cleaning, and applying fillers.
- Using the right tools can significantly improve the effectiveness of the preparation process.
When it comes to automotive painting, surface preparation is a critical step that can determine the quality and durability of the final finish. Properly preparing surfaces ensures better adhesion of paint, reduces imperfections, and ultimately leads to a more professional-looking result. This article will explore various surface preparation techniques, tools, and tips to help you achieve the best possible outcomes.
Why is surface preparation important?
Surface preparation is essential for several reasons:
- Ensures paint adhesion
- Reduces the risk of peeling and chipping
- Improves the overall appearance of the paint job
- Extends the lifespan of the paint
Common surface preparation techniques
The techniques used for surface preparation can vary based on the type of surface being painted. Below are some of the most common methods used in the automotive industry:
Sanding
Sanding is a fundamental technique used to create a smooth surface for paint application. It helps remove old paint, rust, and imperfections.
| Sanding Method | Description | Tools Required |
|---|---|---|
| Hand sanding | Using sandpaper by hand to smooth out surfaces. | Sandpaper, sanding block |
| Power sanding | Utilizing electric sanders for faster and more efficient sanding. | Orbital sander, belt sander |
Cleaning
Before painting, itâs essential to clean the surface to remove dust, grease, and other contaminants. This ensures the paint adheres properly.
- Use a degreaser to remove oils and grease.
- Wash surfaces with soap and water to eliminate dirt.
- Rinse thoroughly and allow to dry before painting.
Applying fillers
Fillers are used to smooth out imperfections such as dents, scratches, or rust spots. Hereâs how to apply fillers effectively:
- Clean the area around the imperfection.
- Apply the filler with a putty knife, ensuring it's level with the surrounding surface.
- Allow the filler to cure, then sand it smooth.

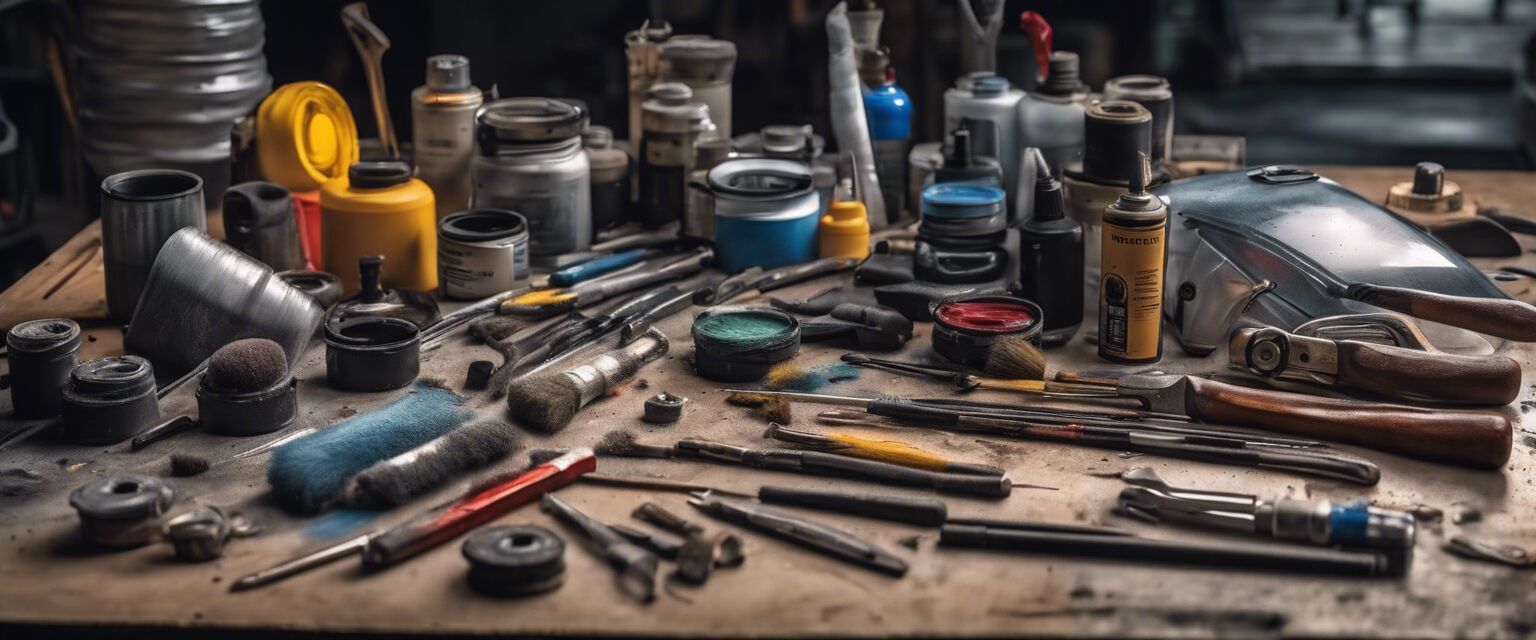
Tools for effective surface preparation
Using the right tools can make the surface preparation process more efficient and effective. Hereâs a list of essential tools:
- Sanders: Both hand and power sanders.
- Sandpaper: Available in various grits for different applications.
- Degreasers: For cleaning surfaces before painting.
- Putty knives: For applying fillers.
- Spray bottles: For applying cleaning solutions and water.
Understanding surface types
Different surfaces require specific preparation techniques. Hereâs a breakdown of common surface types:
| Surface Type | Recommended Preparation Techniques |
|---|---|
| Metal | Sanding, cleaning, applying primer |
| Plastic | Cleaning, sanding, using adhesion promoter |
| Fiberglass | Sanding, cleaning, applying filler if needed |
Best practices for surface preparation
To ensure the best results, follow these best practices:
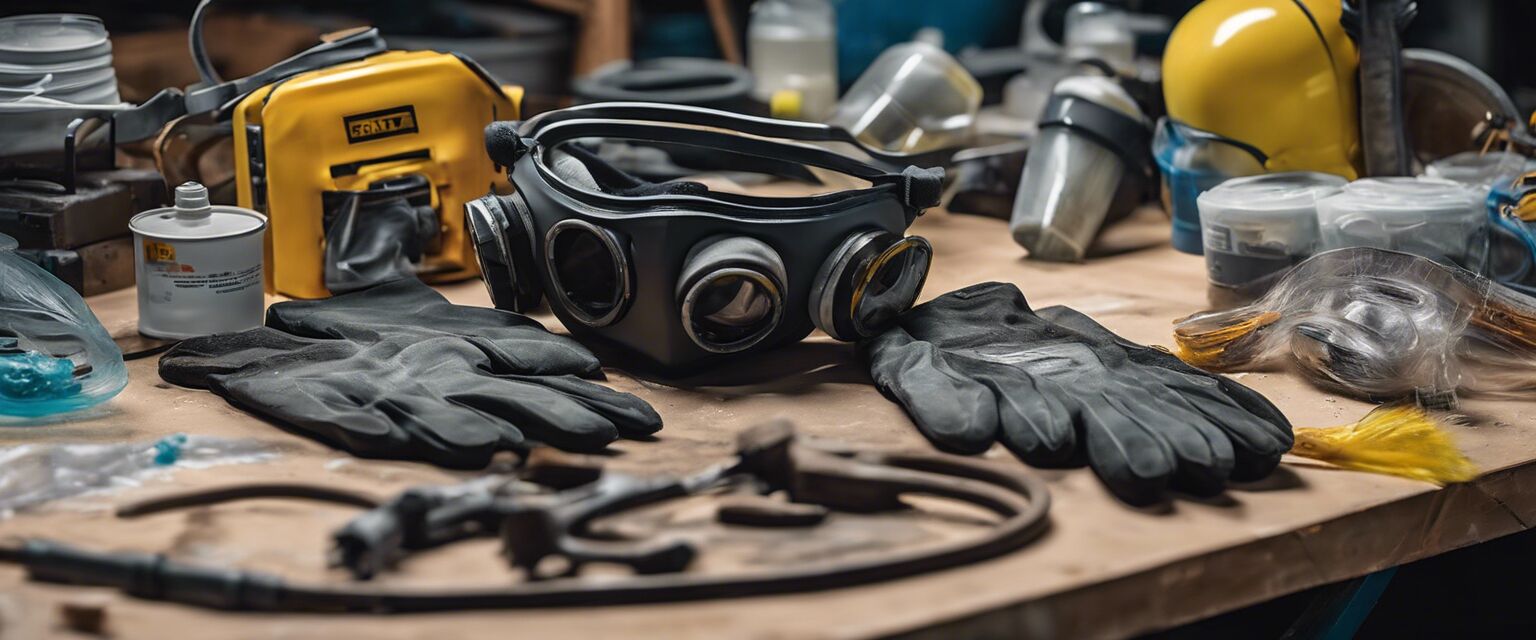
- Always wear protective gear like masks and goggles.
- Test the cleaning products on a small area first.
- Work in a well-ventilated area to avoid inhaling fumes.
- Follow the manufacturer's instructions for all products used.
Pros
- Improved paint adhesion
- Enhanced durability of the paint job
- Professional-looking finish
Cons
- Time-consuming process
- Requires specific tools and materials
- Potential for mistakes if not done correctly
Conclusion
Surface preparation is a vital step in the automotive painting process. By employing the right techniques and using the appropriate tools, you can significantly enhance the quality of your paint job. Remember, taking the time to prepare surfaces properly will pay off with a beautiful and long-lasting finish.
Tips for beginners
- Start with small projects to build your skills.
- Practice sanding on scrap materials to get a feel for the tools.
- Keep a clean workspace to avoid contamination.
- Don't rush the process; take your time to ensure quality work.
For more information on specific preparation tools, check out our sections on sandpaper and polishers, body fillers and putty, and protective gear.